win10配置nodejs环境
解压后

新建两个文件夹,后面需要配置
node_global 全局目录
node_cache 缓存目录
现在开始配置环境,打开系统变量
新建NODE_HOME

加入path新建
%NODE_HOME% //这个是访问node根文件夹
%NODE_HOME%\node_global //这个是访问安装插件

设置全局目录和缓存目录,打开cmd
npm config set prefix "自己的解压路径\node_global"

npm config set cache "自己的解压路径\node_cache"
设置npm的淘宝镜像源
npm config set registry https://registry.npm.taobao.org
设置完开始测试
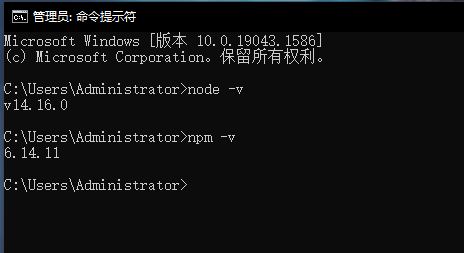
查看是否安装成功
node -v 查看 node 版本
npm -v 查看 npm 版本

npm config list -l //查看所有配置

我们安装一个vue脚手架看看
npm install -g @vue/cli
安装成功查看版本vue -V

生成的文件夹,OK


