


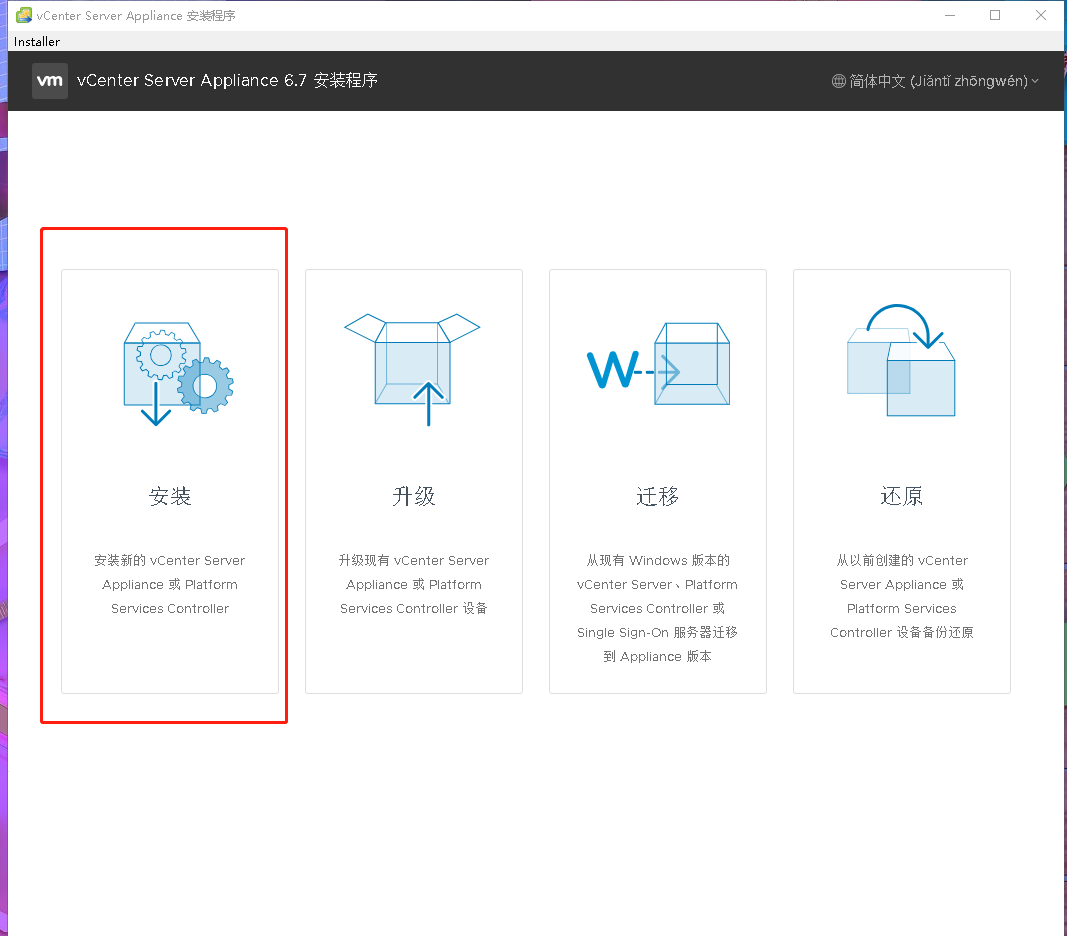
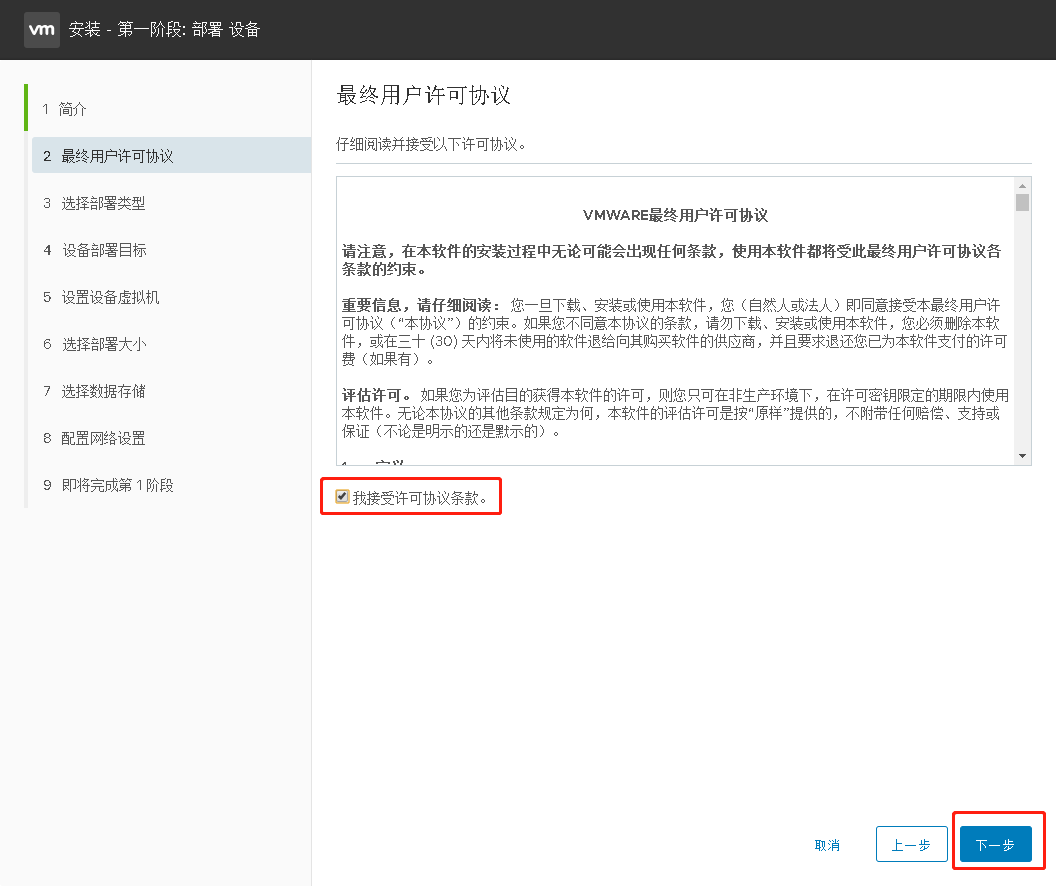
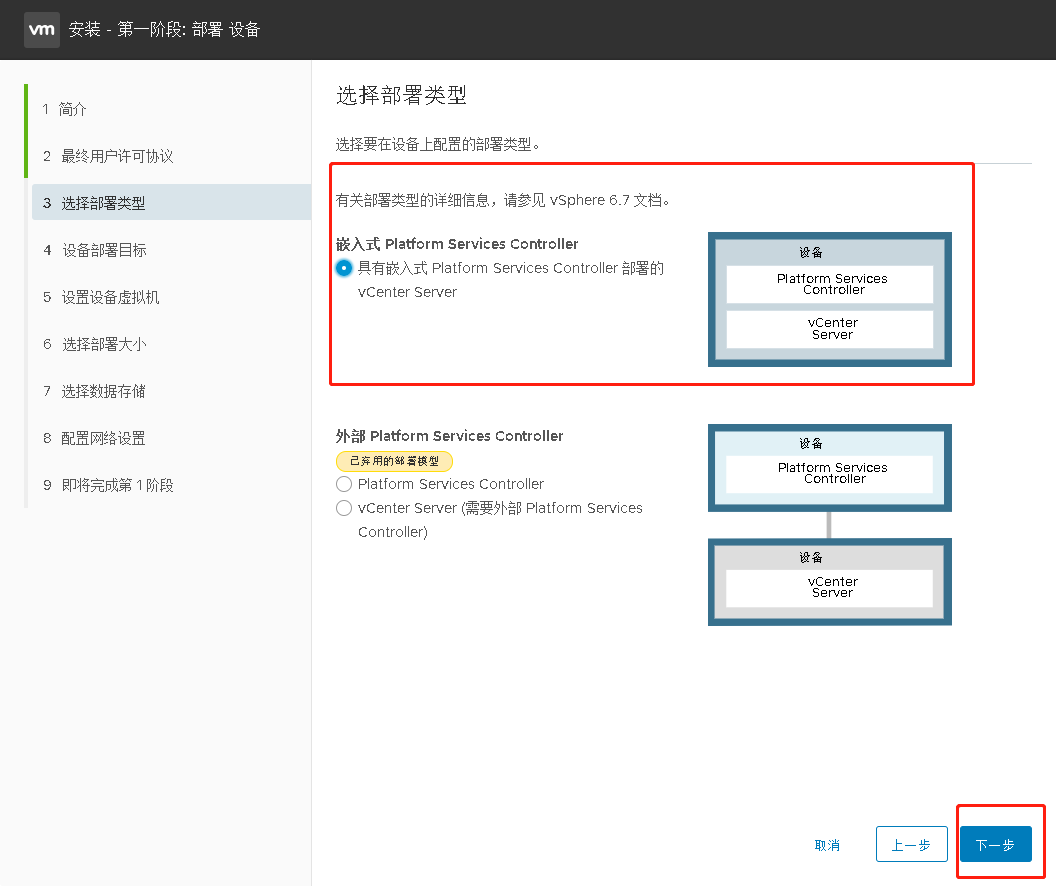
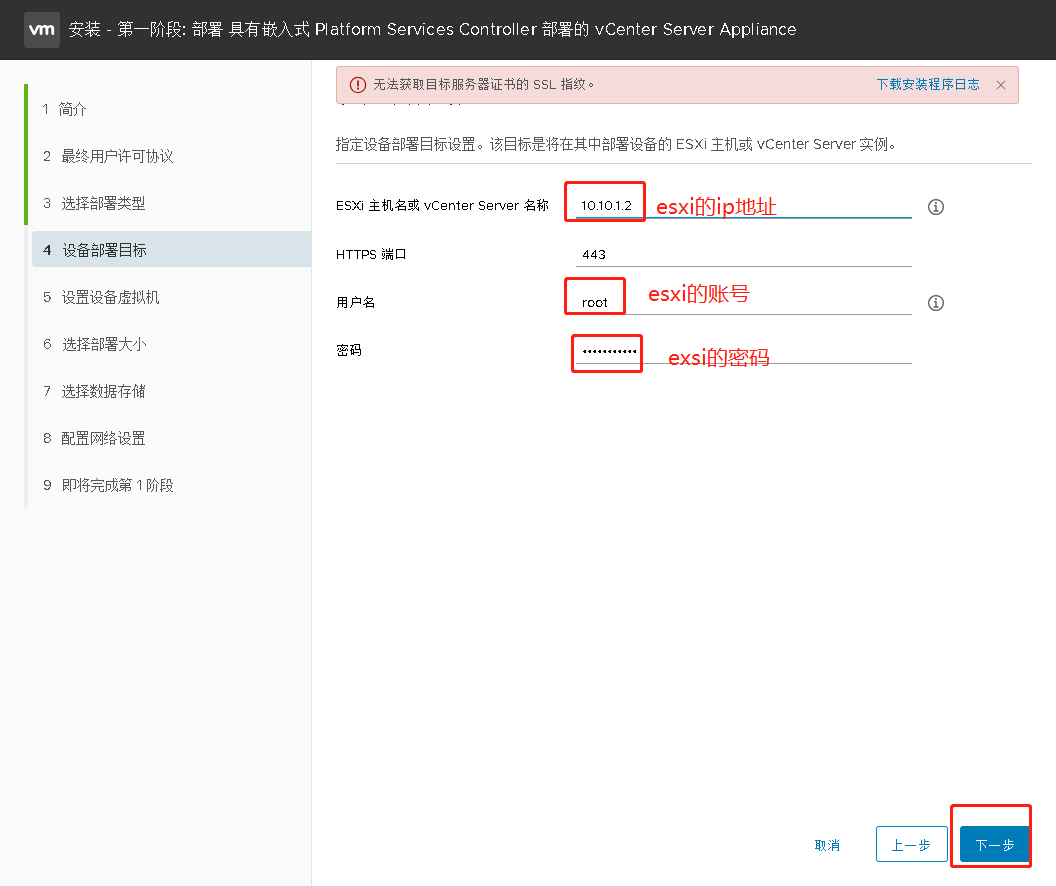
部署vCenter Server 6.7到ESXI上
许可证:
HG612-FH19H-08DL1-V19X2-1VKND
NU4JA-4V2DQ-48428-T32GK-8VRN4
0Y4H2-8P217-H8900-M8AE4-2LH44
NA658-2308J-08809-93AQ6-278J0
解压sio,选择路径安装程序
\vcsa-ui-installer\win32\installer.exe

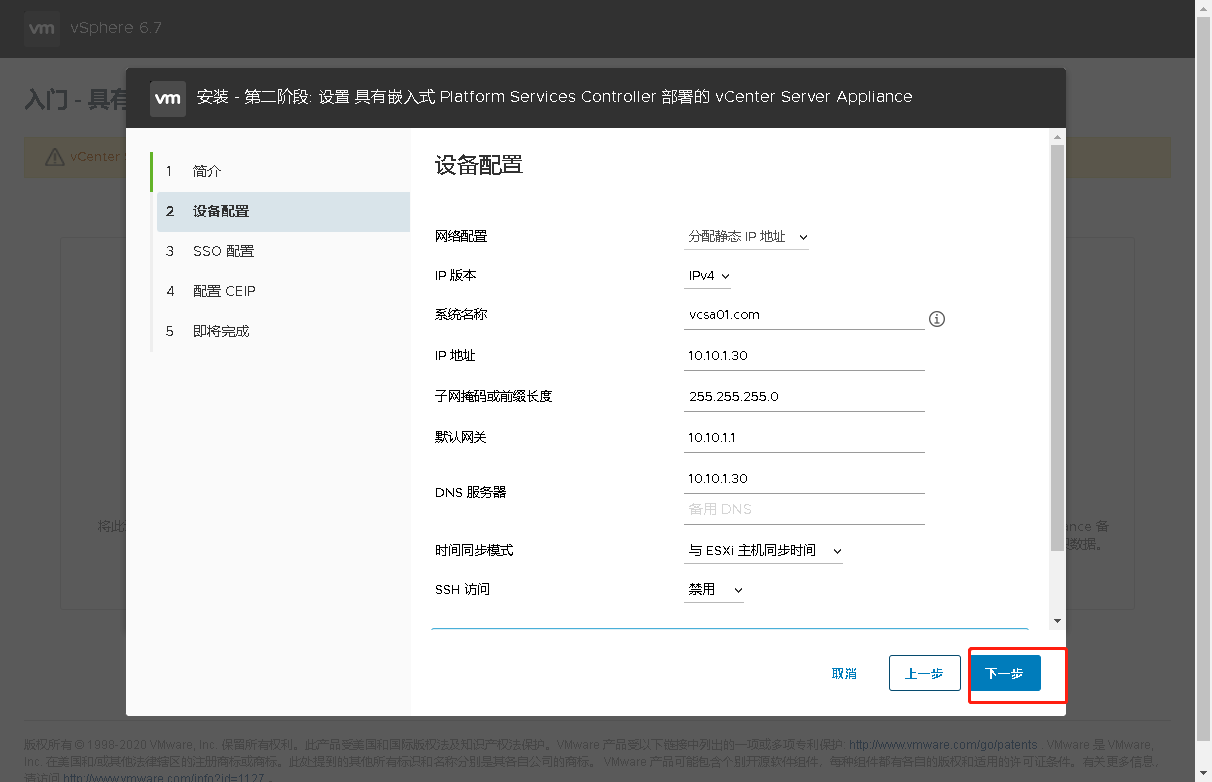
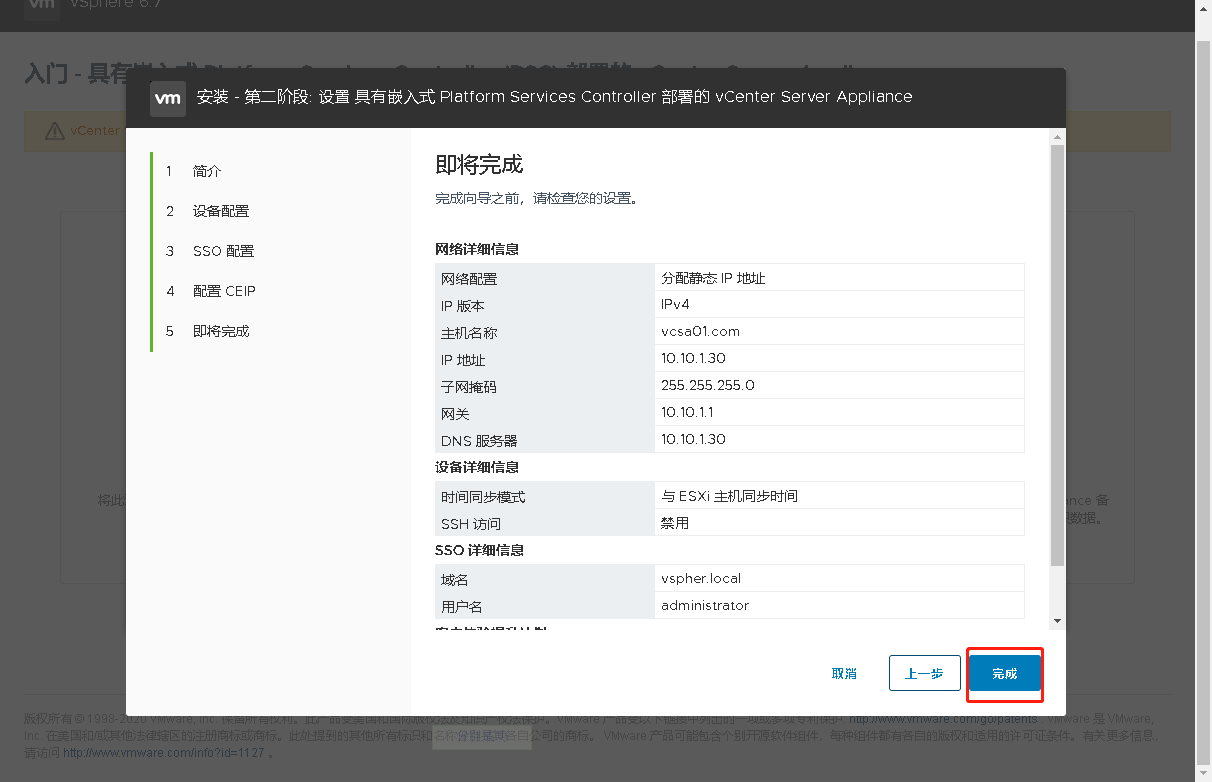
IP 版本:IPV4
IP 分配:静态
FQDN:vcsa01.com
IP 地址:10.10.1.30 (给vceter设置一个IP地址)
默认网关:10.10.1.1   (设置网关)
DNS 服务器:10.10.1.30   (设置DNS,如果内部有DNS就可以设置内部DNS,然后需要进行解析vcsa01.com  到 10.10.1.30,否则就填写自己的ip地址)
HTTP:80
HTTPS:443
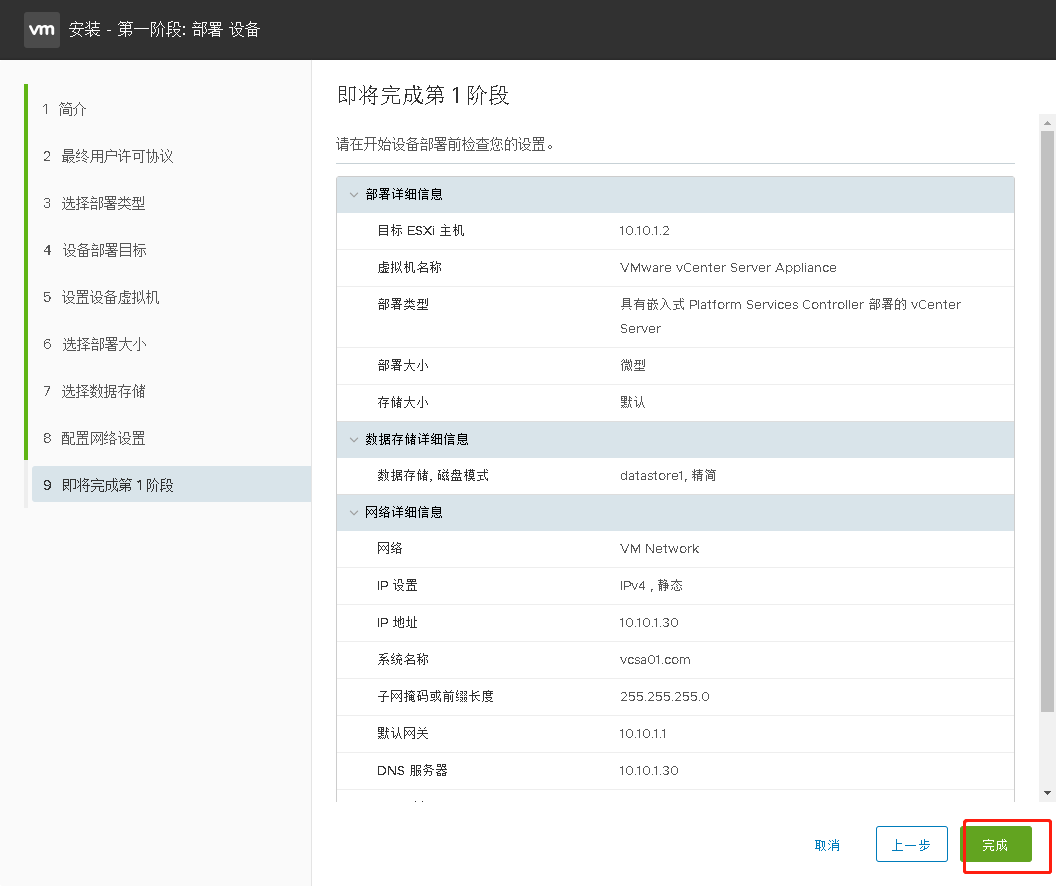
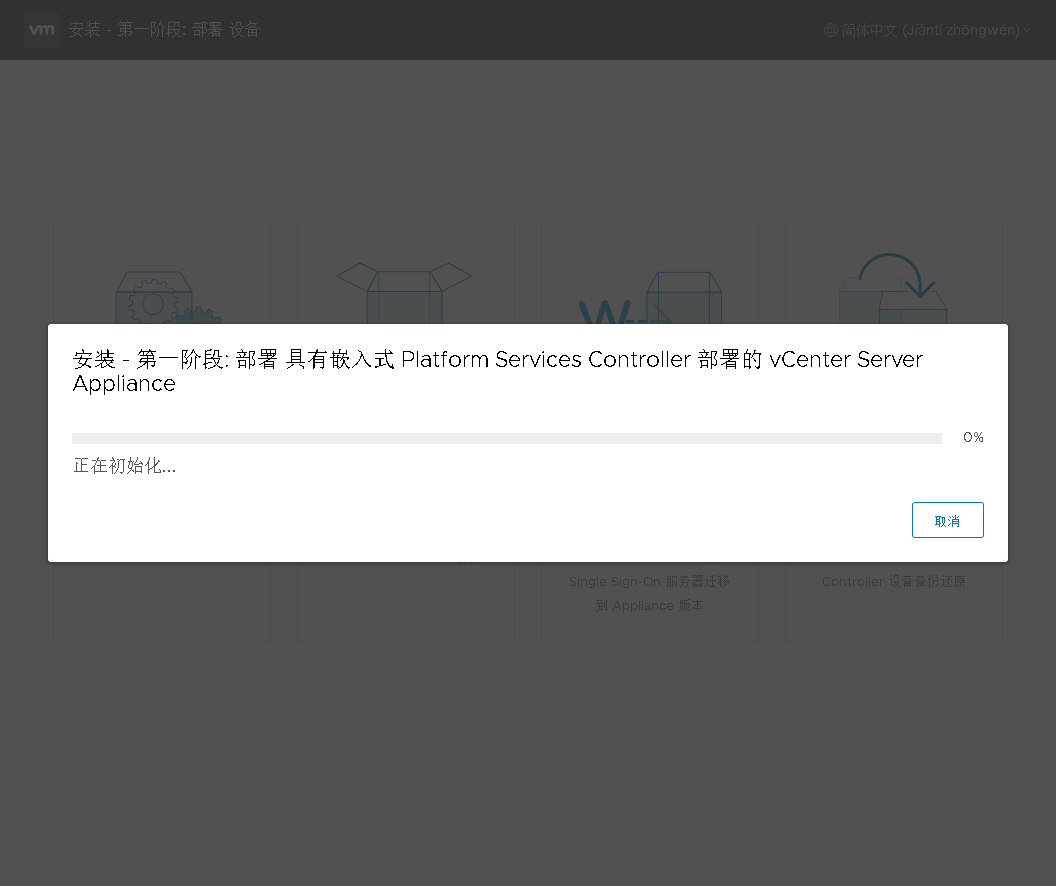
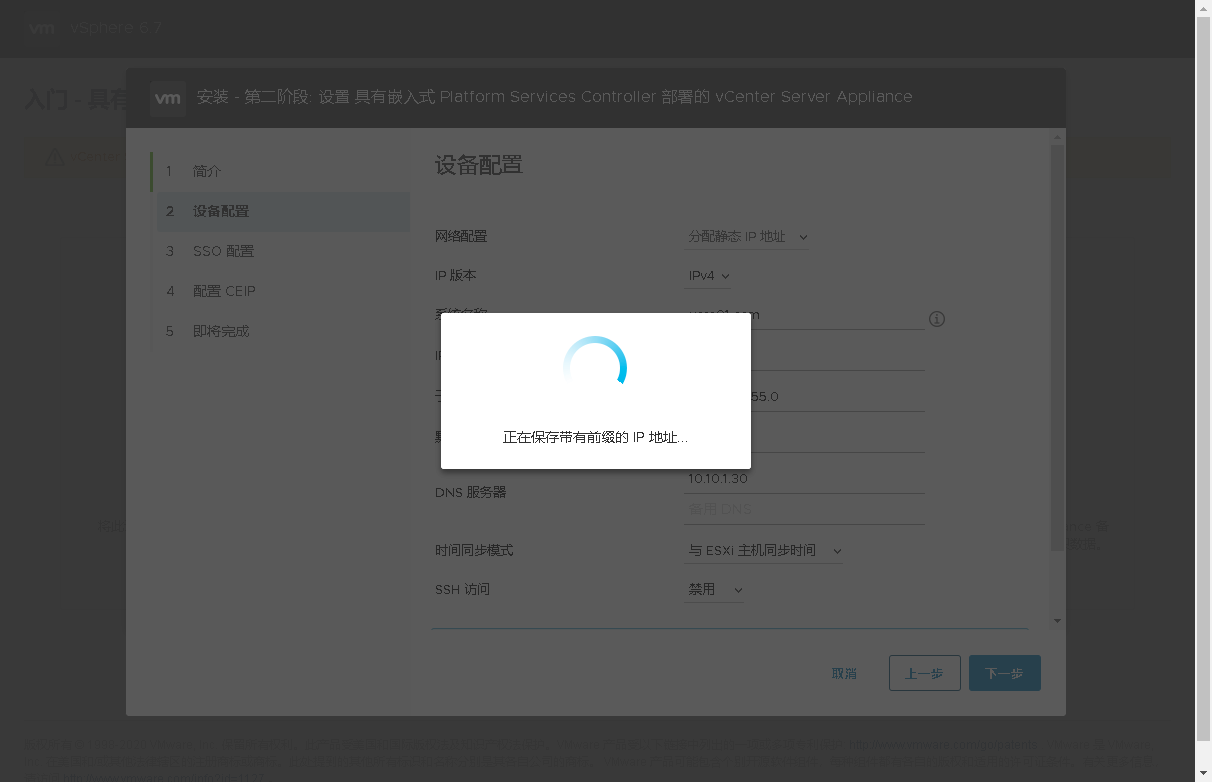
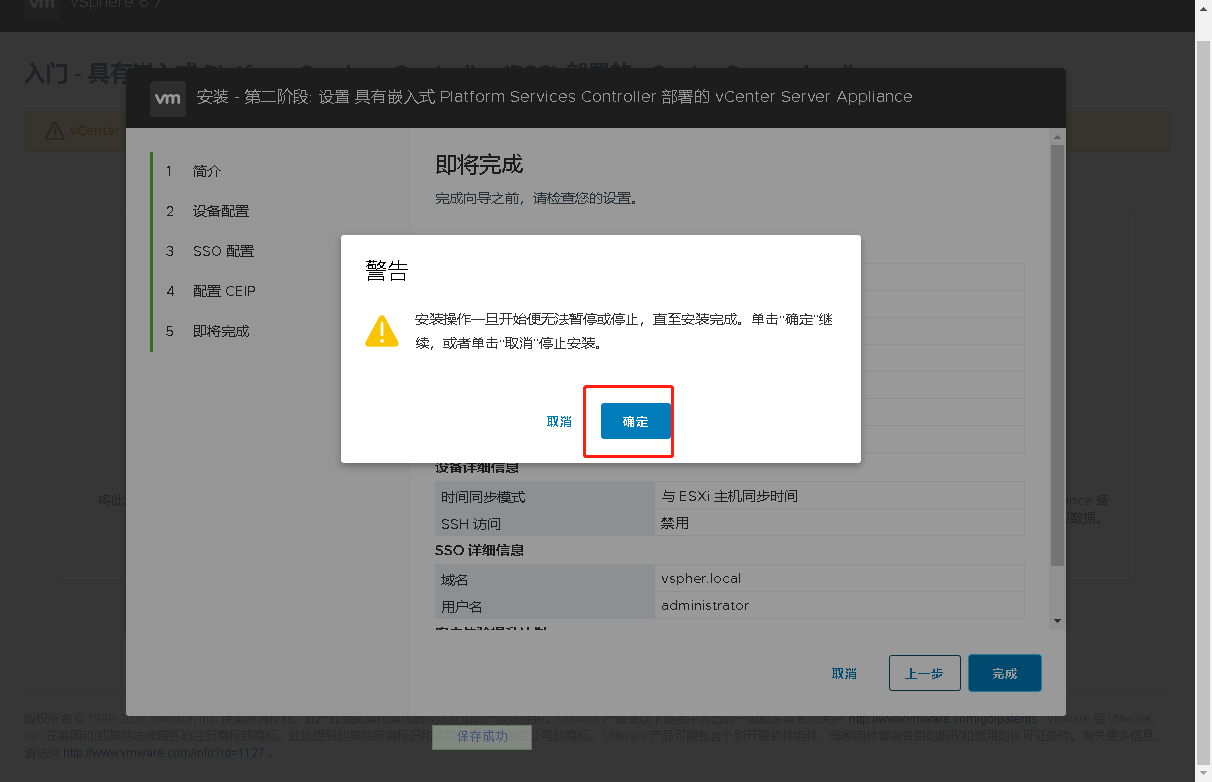
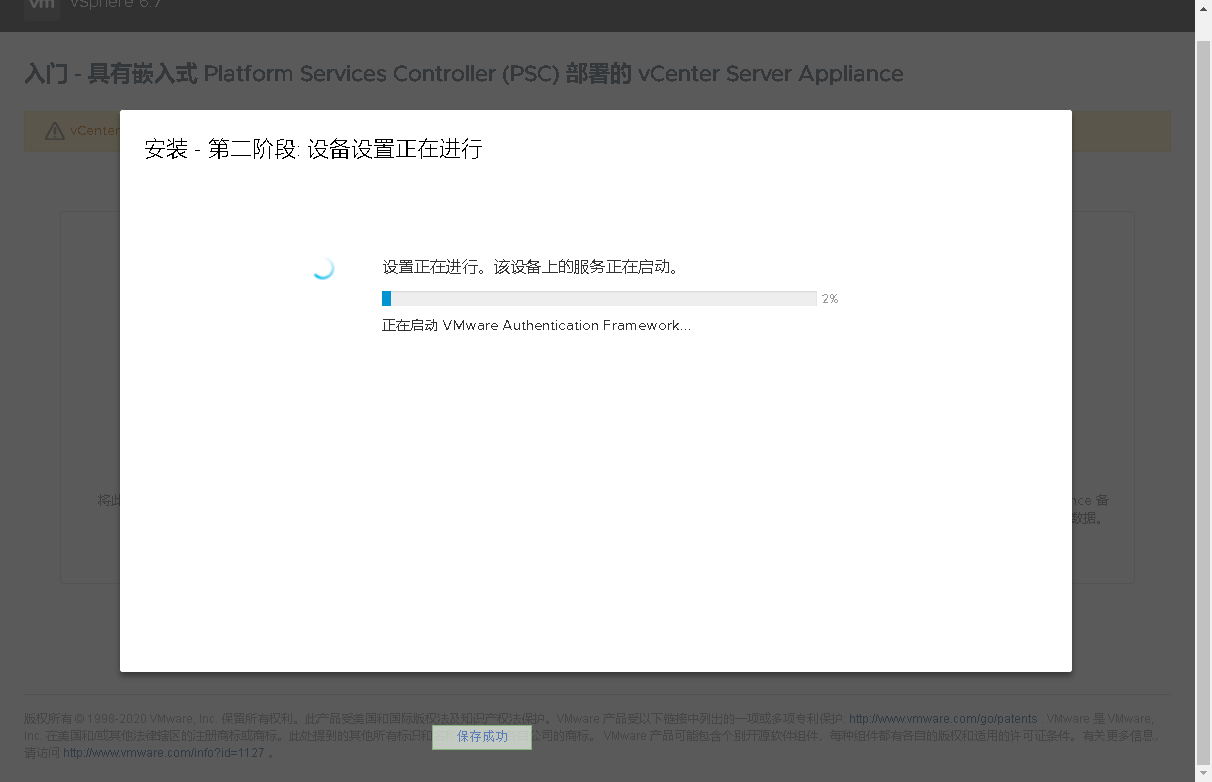
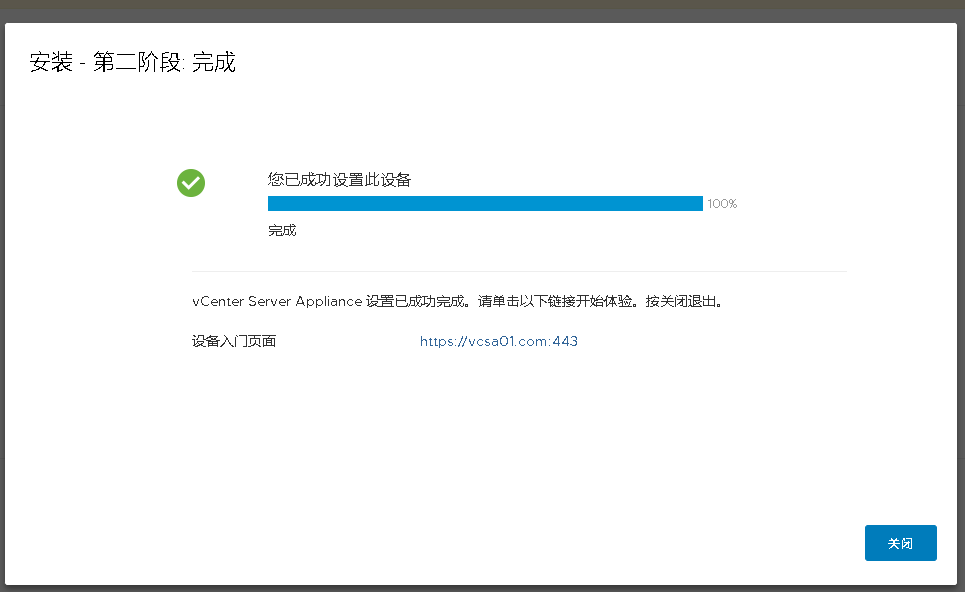
等待完成
因为dns的原因,这个地方会解析不到域名,而报错
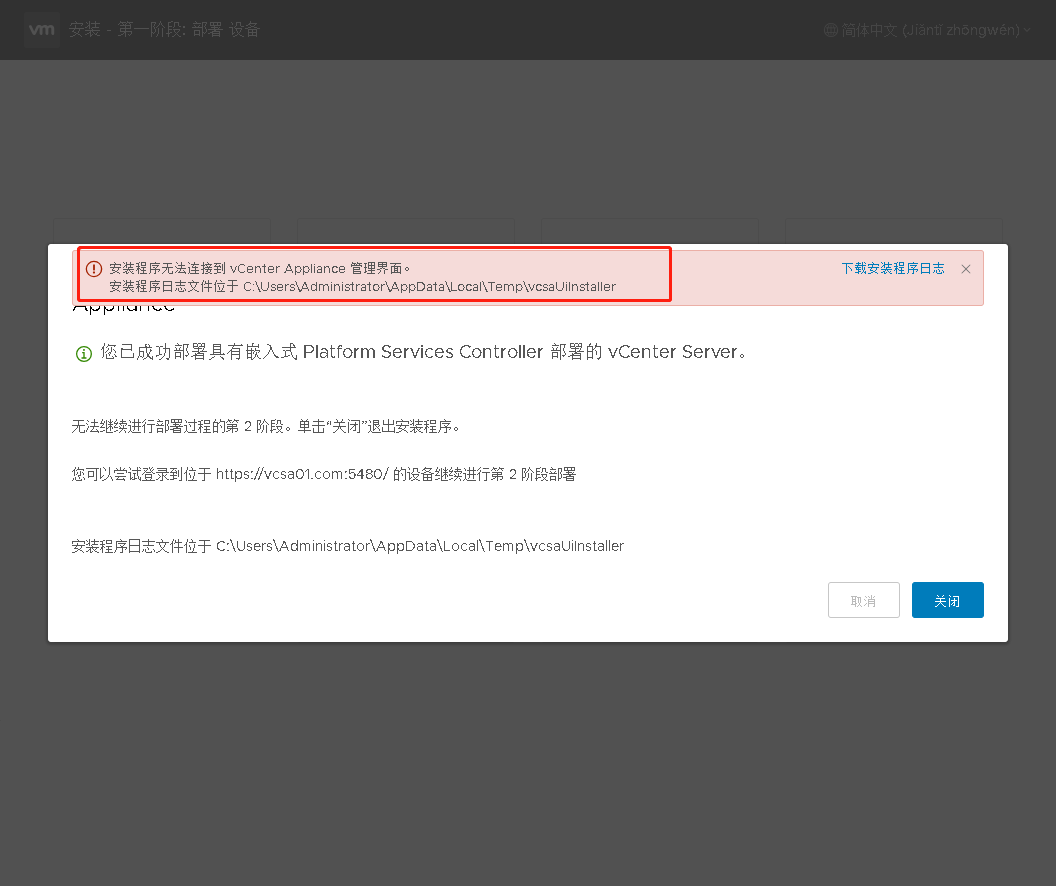
这时候登入esxi上去,找到vcenter的界面
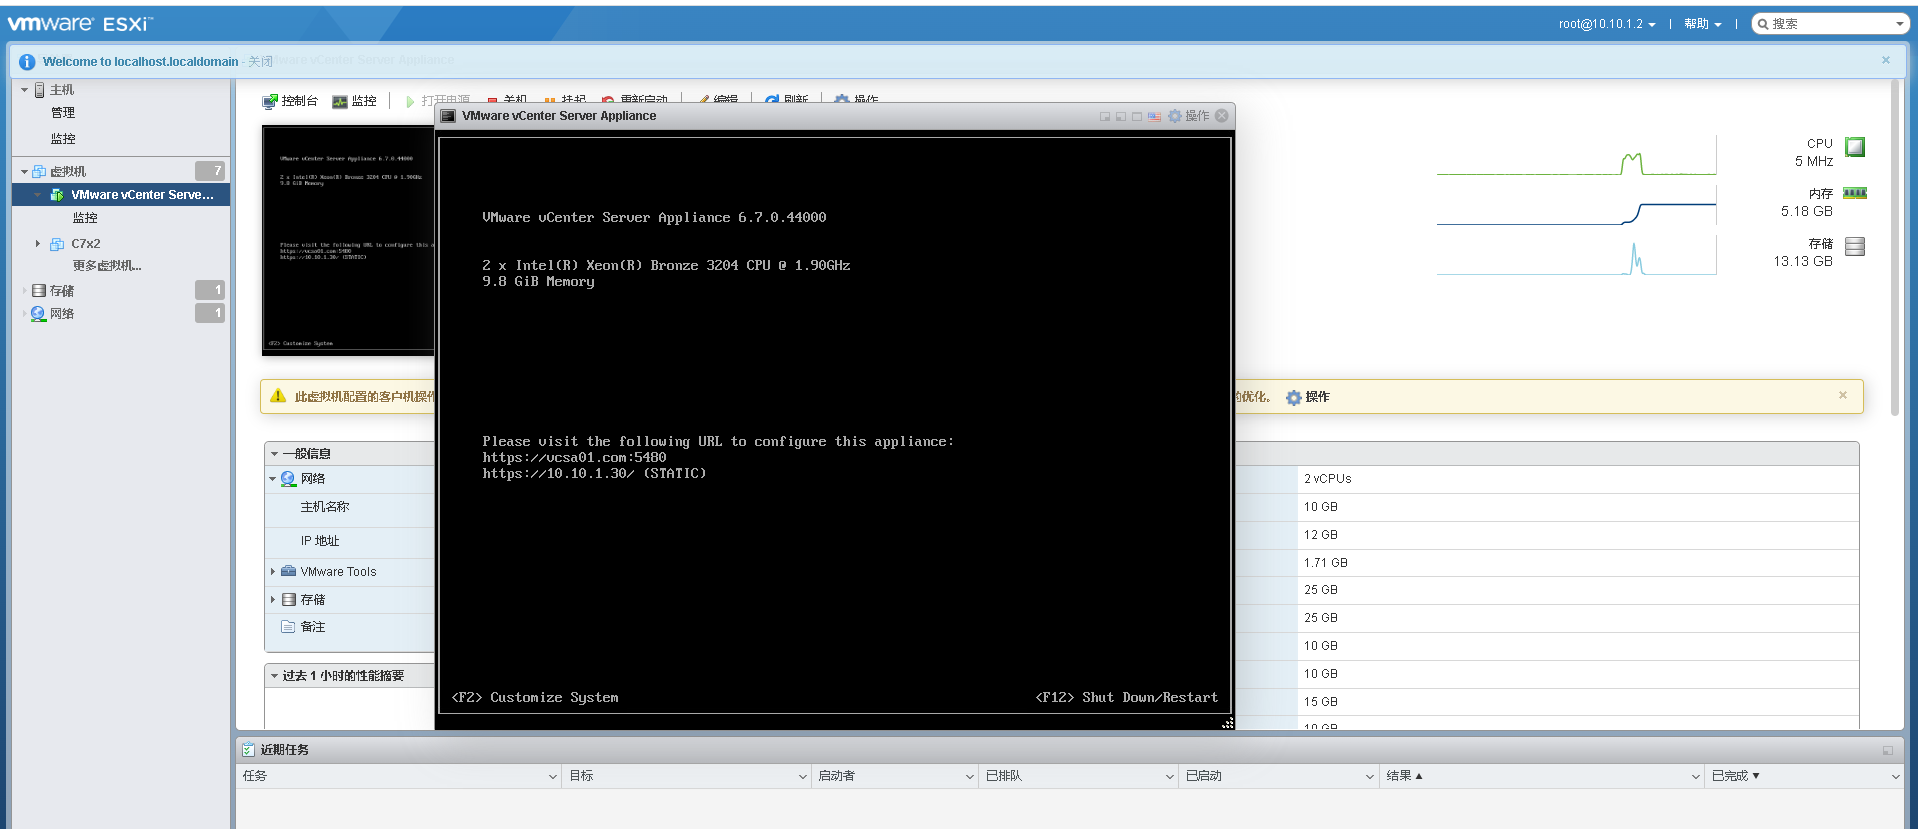
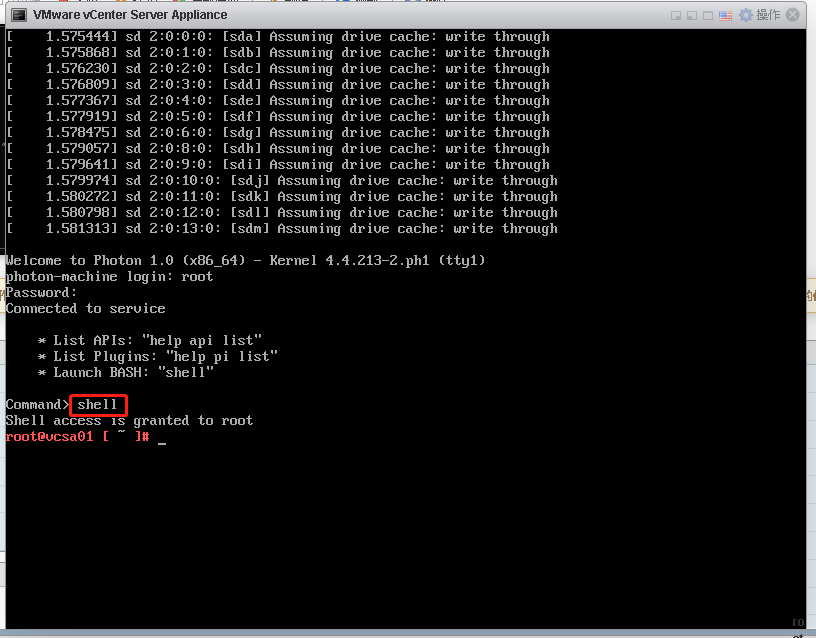
按下 ctrl+alt+F1 切换到 命令行,进行登入
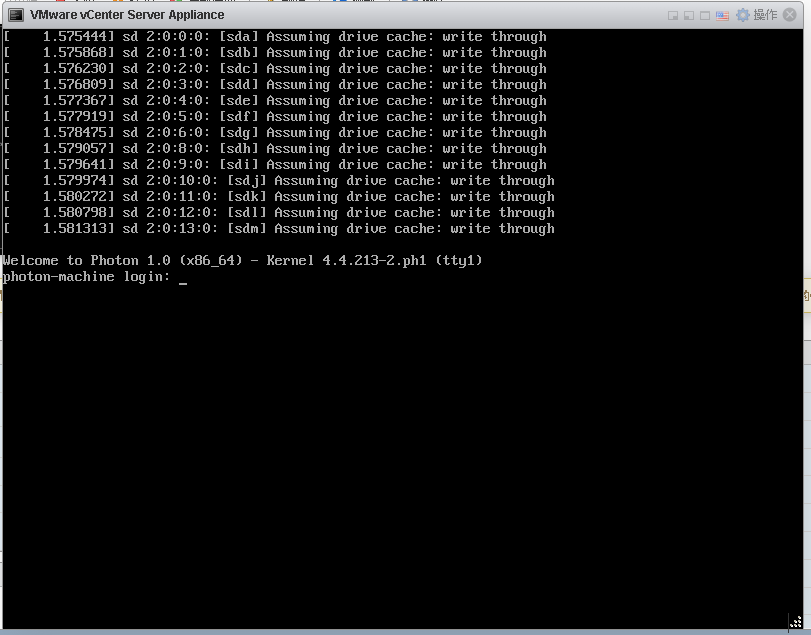
输入shell进入命令行
cp /etc/dnsmasq.conf   /etc/dnsmasq-bak.conf    ##备份配置文件
vi /etc/dnsmasq.conf
将 no-hosts改为 addn-hosts=/etc/dns_add_hosts
将listen-address=127.0.0.1改为listen-address=10.10.1.30      #这个ip就是当前vcenter的ip
然后保存wq退出;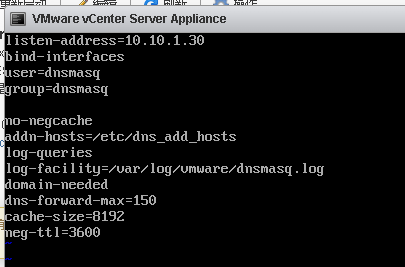
vi /etc/dns_add_hosts
10.10.1.30 vcsa01.com 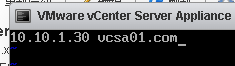
重启dns
systemctl restart dnsmasq
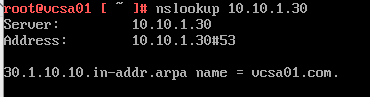
测试是否解析成功
nslookup 10.10.1.30
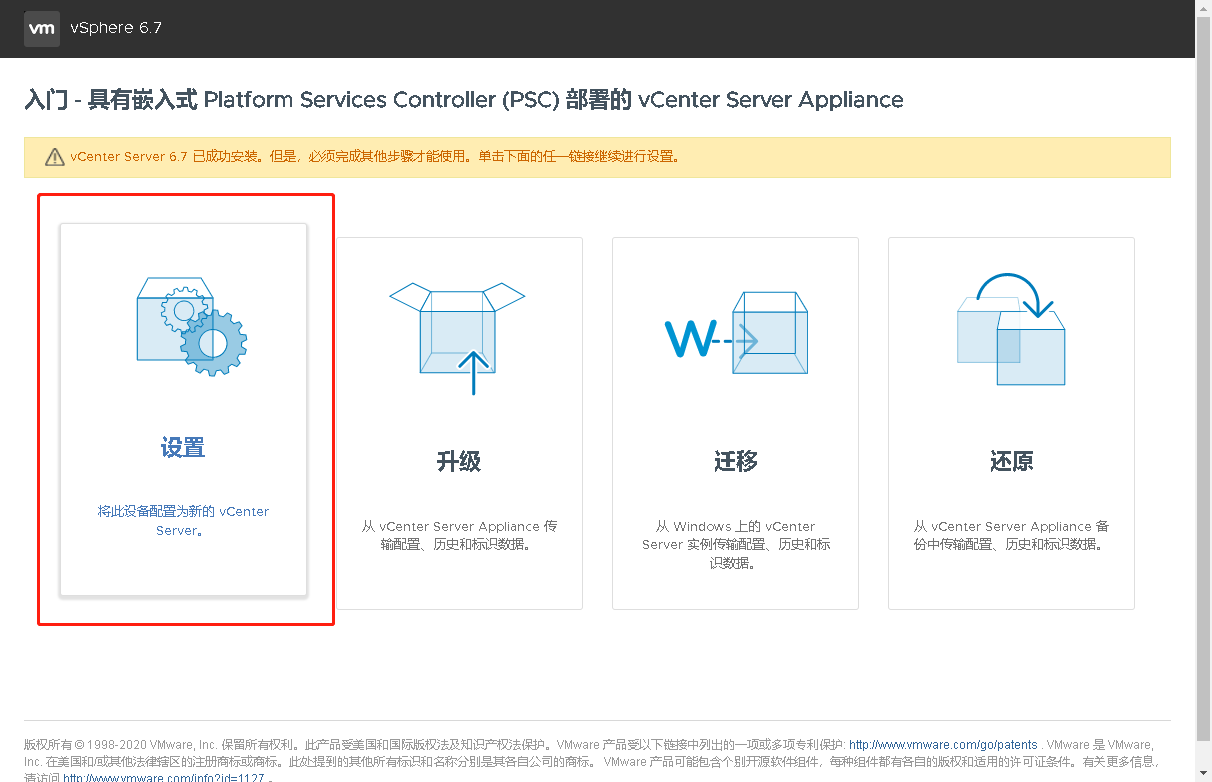
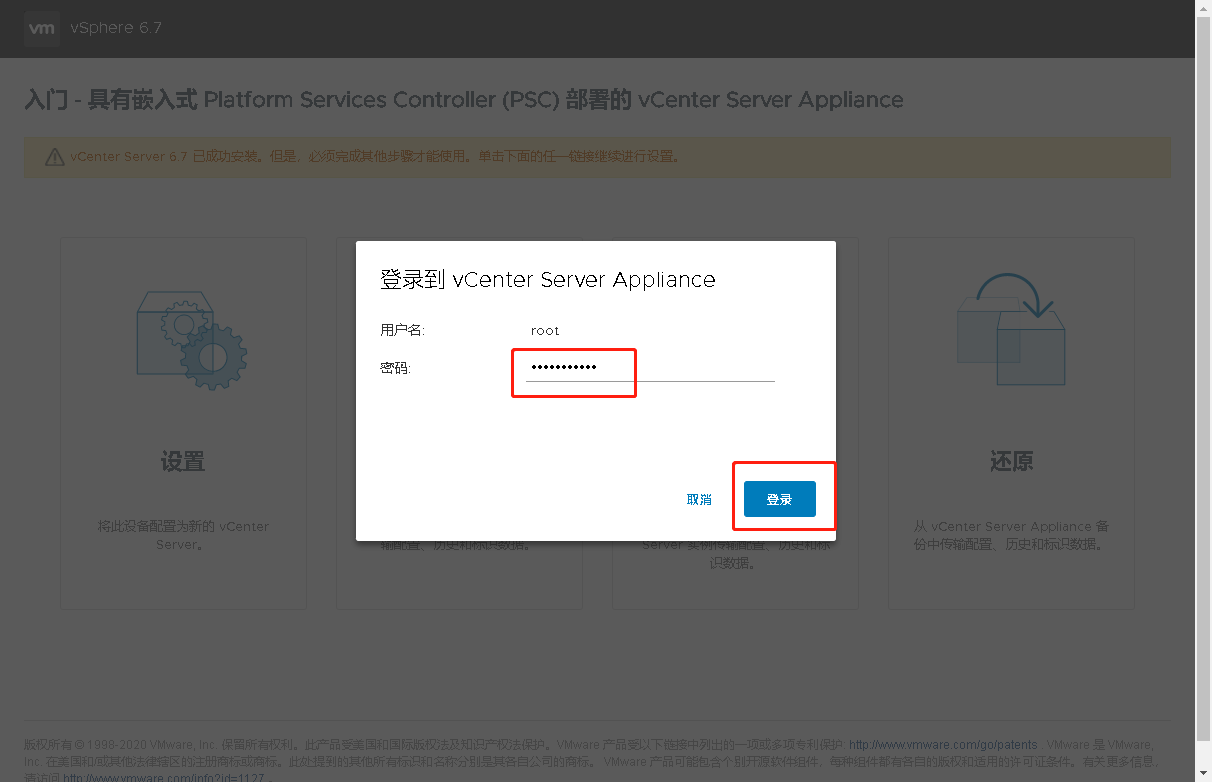
访问 https://10.10.1.30:5480 进行第二阶段部署
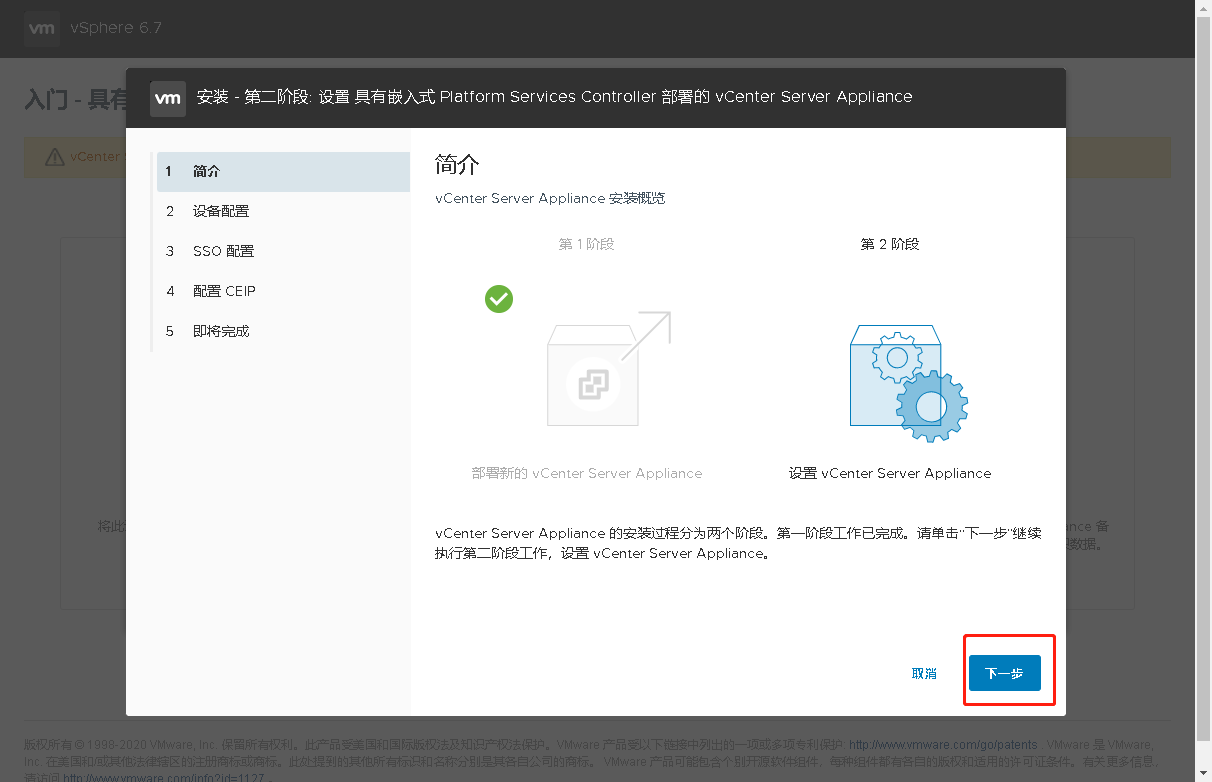
等待完成
vspher.local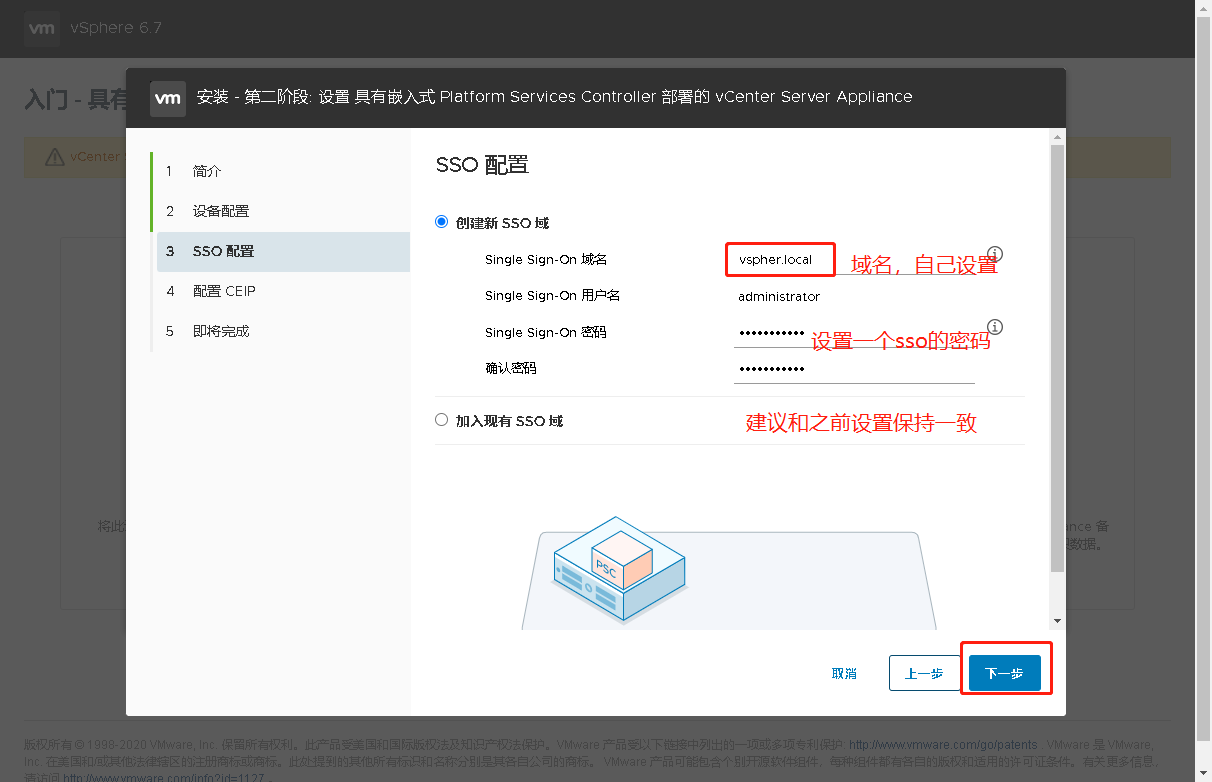
等待安装完成
windows 本地hosts添加
方法一:去编辑hosts文件,大多数情况是无法保存的
C:\Windows\System32\drivers\etc\hosts
10.10.1.30 vcsa01.com

方法二:CMD管理员方式打开,(推荐方法二)
echo 10.10.1.30 vcsa01.com >> C:\Windows\System32\drivers\etc\hosts
vSphere Cliebt客户端管理: https://vcsa01.com
账号:administrator@vsphere.local
密码:xxxxxx (刚刚设置的)

Vmware设备管理:https://10.10.1.30:5480
账号:root
密码:xxxxxx (刚刚设置的)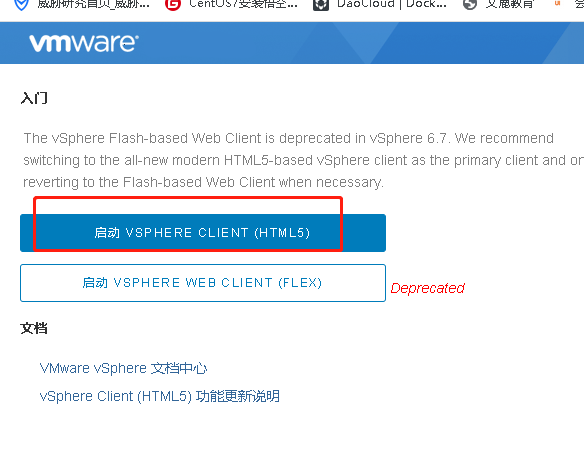
登入vSphere Cliebt客户端管理进行激活

然后刷新即可看到时间无限