

网站总被攻击之自动封禁 IP 的脚本
个人网站总被攻击?写个自动封禁IP的脚本给你!具体如下:
1.在ngnix的conf目录下创建一个 blockip.conf 文件
2.里面放需要封禁的IP,格式如下
deny 1.2.3.4;3.在ngnix的HTTP的配置中添加如下内容
include blockips.conf;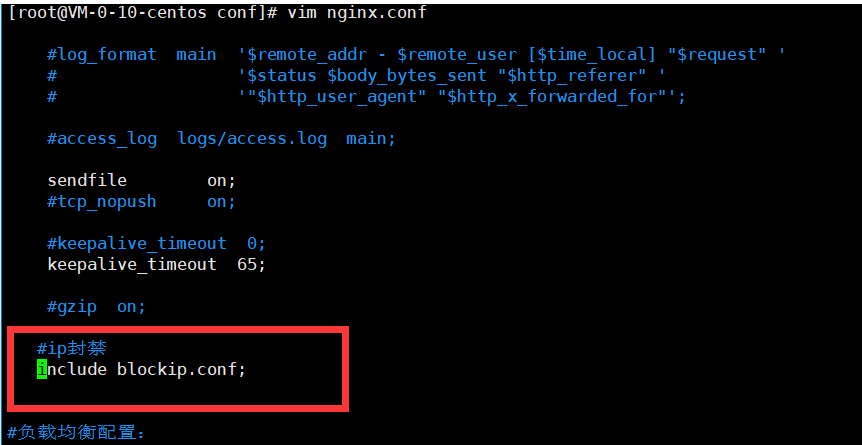
4.重启 ngnix
/usr/local/nginx/sbin/nginx -s reload然后你就会看到IP被封禁了,你会喜提403;

小思考:如何实现使用ngnix自动封禁ip的功能
- 1.AWK统计access.log,记录每分钟访问超过60次的ip,然后配合nginx进行封禁
- 2.编写shell脚本
- 3.crontab定时跑脚本
好了上面操作步骤列出来了,那我们先来实现第一个吧
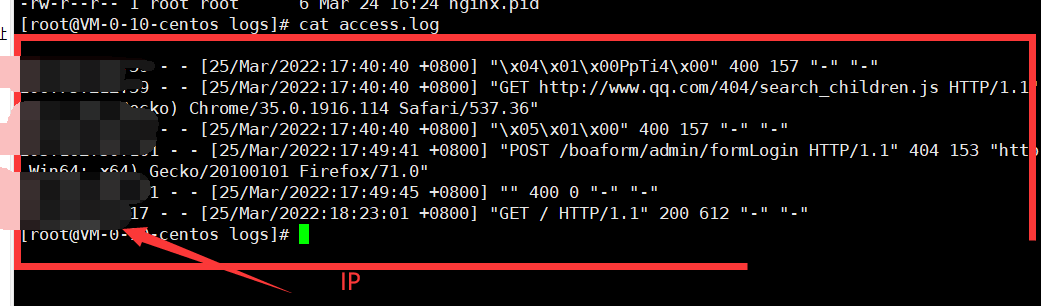
操作一:AWK统计access.log,记录每分钟访问超过60次的ip
awk '{print $1}' access.log | sort | uniq -cd | awk '{if($1>60)print $0}'

1. awk '{print $1}' access.log   取出access.log的第一列即为ip。
2. sort | uniq -cd  去重和排序
3. awk '{if($1>60)print $0}' 判断重复的数量是否超过60个,超过60个就展示出来
操作二:编写shell脚本,实现整体功能(写了注释代码)
封禁脚本
#!/bin/bash
#前面最开始编写的统计数据功能
ip_list=$(awk '{print $1}' access.log | sort | uniq -cd | awk '{if($1>60)print $0}')

#判断这个变量是否为空
if test -z "$ip_list"
then
        #为空写入 11.log中,并重新启动ngnix
        echo "为空"  >> /usr/local/nginx/logs/11.log

        /usr/local/nginx/sbin/nginx -s reload

else
        #如果不为空 前面加上 deny格式和ip写入blockip.conf中
        echo "deny" $ip_list > /usr/local/nginx/conf/blockip.conf

        #因为前面携带了行数,所有我们需要去除掉前面的行数,写入后在读取一次
        ip_list2=$(awk '{print $3}' /usr/local/nginx/conf/blockip.conf)

        #最后再把读取出来的值,在次写入到blockip.conf中
        echo "deny" $ip_list2";"> /usr/local/nginx/conf/blockip.conf

        #重启ngnix
        /usr/local/nginx/sbin/nginx -s reload
        #清空之前的日志,从最新的开始截取
        echo "" > /usr/local/nginx/logs/access.log

fi
解封脚本
#!/bin/bash
#不能把别人IP一直封着吧,这里就清除掉了
echo "" > /usr/local/nginx/conf/blockip.conf
操作三:使用crontab定时,来实现访问每分钟超过60的
直接实操吧:
crontab -e
* * * * * cd /home/wwwshell && sh blog_ossq.cn_deny.sh  每一分钟运行一次进行封禁
0 2 * * * cd /home/wwwshell && sh allow.sh  每晚2点进行解封所有IP
systemctl restart crond.service 重启一下配置既可